Interview with ceramic artist Miho Yanagimoto (Seto, Aichi Prefecture)
Share
We visited the studio of Yanagimoto Miho, an independent artist who creates the impressive "Hyoretsu Kanryu" ceramics, to speak with her.
I hope you will read to the end and appreciate the beauty of the work even more by learning about the process.
Please tell us how you first encountered pottery.
I was born in Kuju-machi, Kuju-gun, Oita Prefecture, and grew up in Anjo City, Aichi Prefecture. I grew up in Anjo until I was about 18 years old, and entered the Nagoya University of Arts, Faculty of Fine Arts, Department of Western Painting, to study oil painting. After graduating, I worked for two years and saved up money to go to France to fulfill my dream of "living a life like Chagall" that I had had since I was 14!
I lived in France for a total of two and a half years, one year in Dijon and one year in Paris, and experienced art as something very familiar. I also traveled to various places such as Bordeaux, Strasbourg, Italy, Belgium, and Germany. Prices were low at the time, and the currency was still the French franc before the EU. During my stay in Paris, I decided to do either glass or ceramics, which I had always been interested in, and returned to Japan. I started attending a pottery class while working. I attended a class where I could come at any time and stay all day during business hours for over a year. After that, I bought a potter's wheel and made pottery at home, and had it fired in the pottery class's kiln, and I was enrolled for about three years.
I'm the type of person who will try anything I'm interested in, so I worked as a chiropractor and also became a mechanical designer! I can use both 2D and 3D CAD (laughs).
When I was invited by a friend to have my first exhibition, I was introduced as a "ceramic artist" by Tokai Television, and that was the trigger that made me seriously aim to become a ceramic artist. Since I was working, my schedule was to work overtime until late on weekdays, recover on Saturdays, and make pottery on Sundays.
While working as a mechanical designer, I held solo exhibitions about once a year, but to acquire more advanced skills I studied at Aichi Prefectural Ceramics Technology College for a year (the first student was Takeuchi Shingo, whose work is also sold at OMBLE, and he was a part-time instructor at the college!).
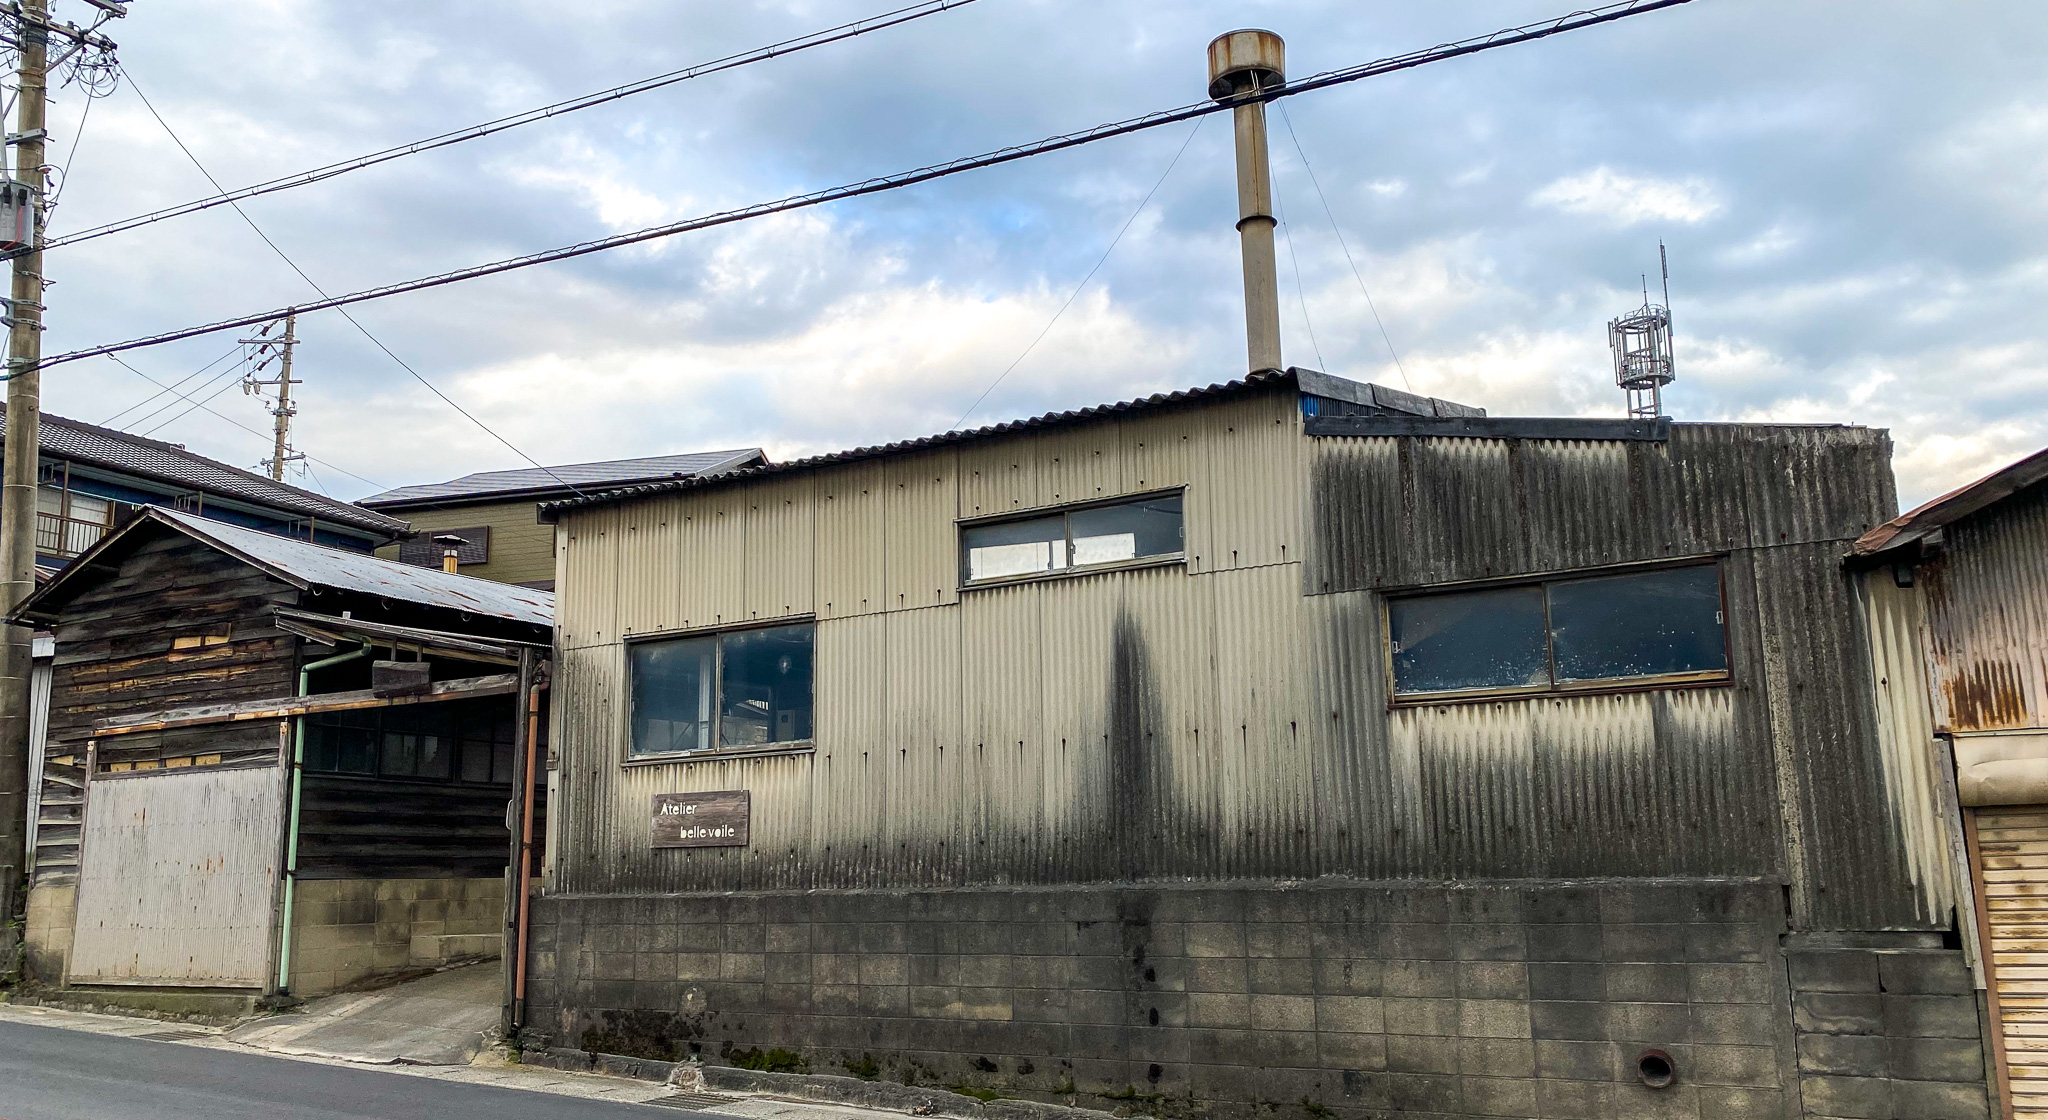
The following year, while working as an instructor at a pottery class, he set up a studio in Seto and began producing in earnest. In 2019, he built a kiln here in Akazu, Seto, where he continues to work to this day.
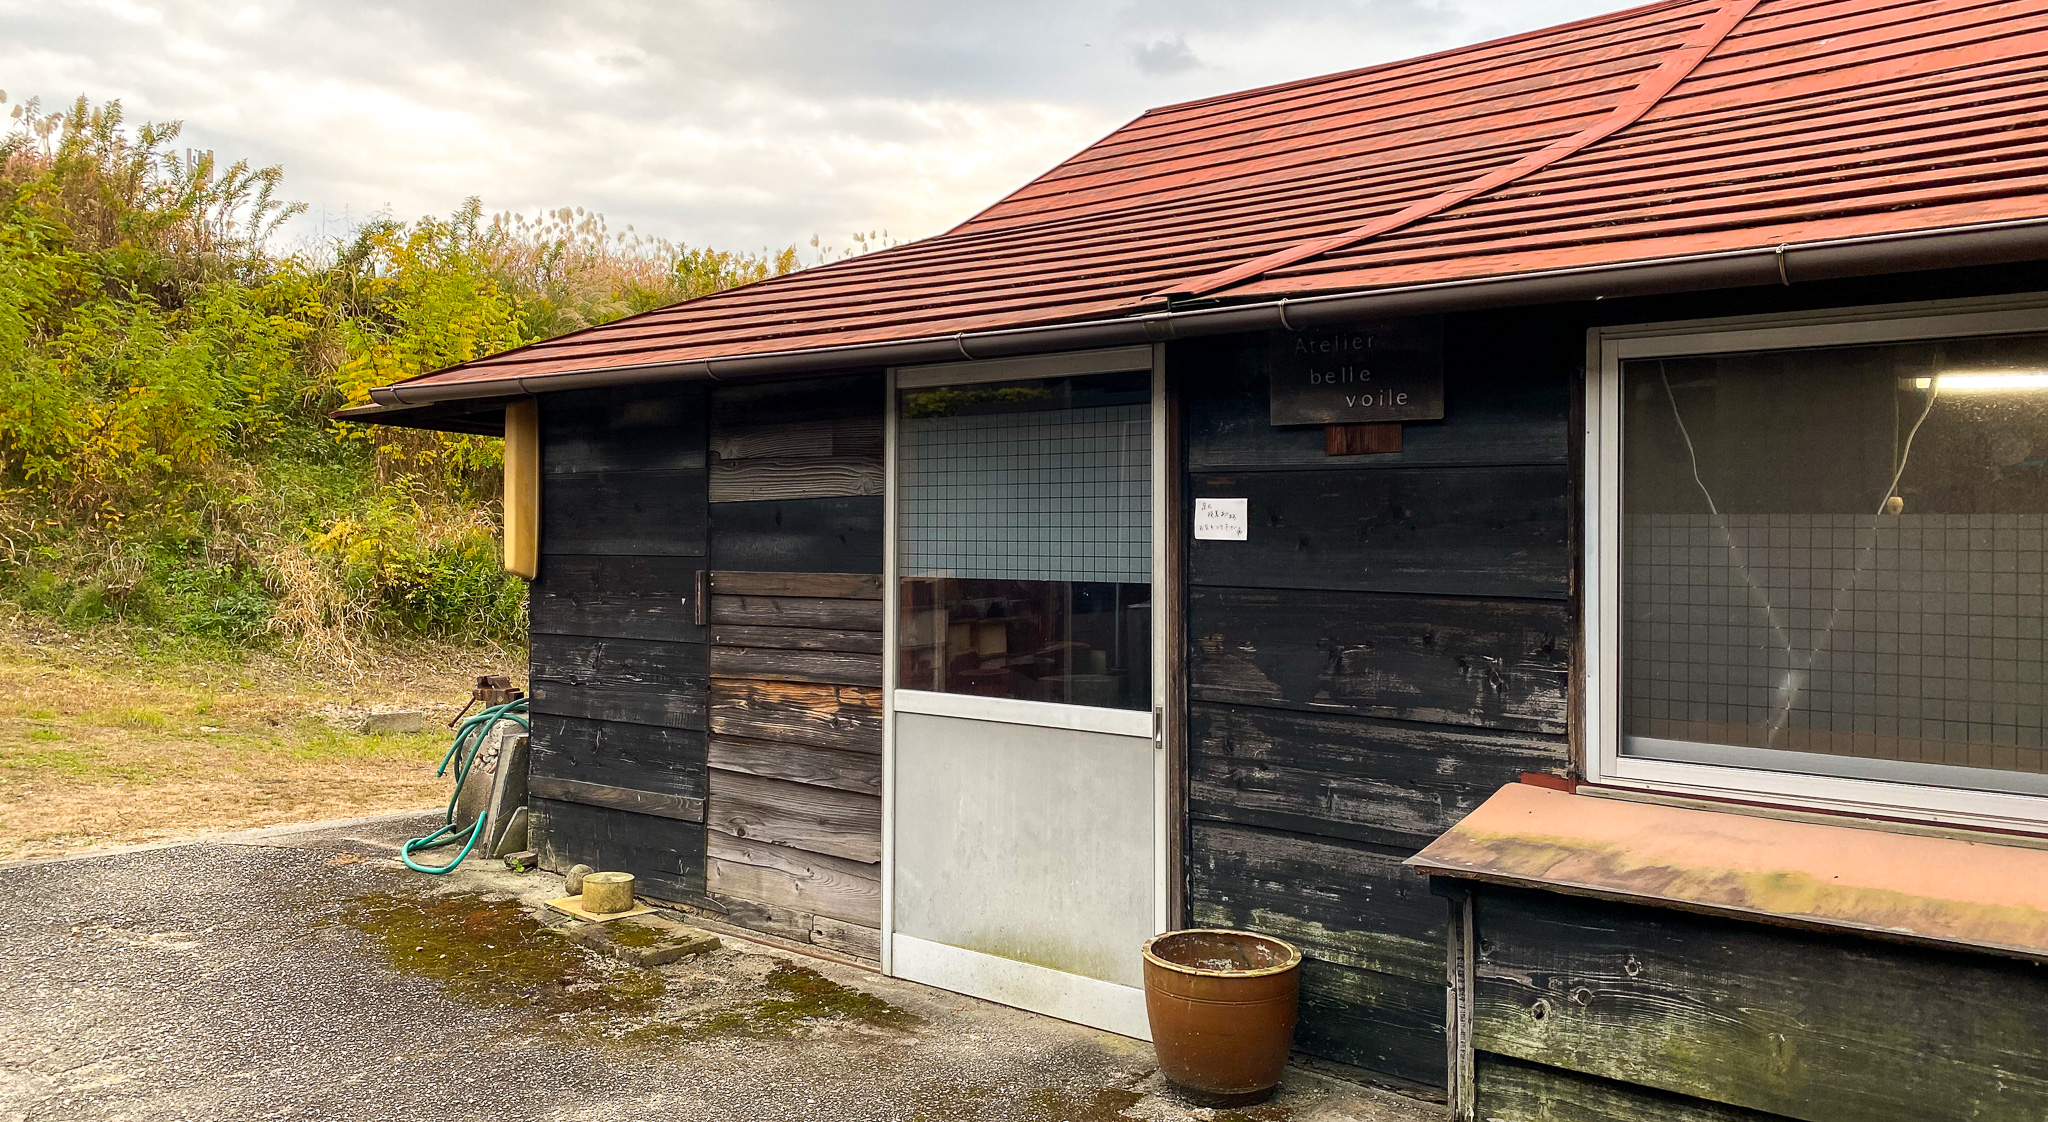
Akazu in Seto is close to the mountains, so the temperature is a little lower than in the city, and because it's mountain weather, it's cool at night even in summer, which is similar to the climate in my grandmother's hometown of Kusu, Oita Prefecture. In winter, it's extremely cold, and my studio and home are old houses that are over 100 years old, so they're extremely cold!
Please tell me the process of making pottery.
I use a mixture of two types of soil: black mud mixed with a type of soil called Rakuhaku.
I don't have a kneading machine, so I knead everything by hand and then make the pottery on an electric potter's wheel.
At this point, it is shaped to make a large cup. After drying, when it is half dry, the base is carved, the body is carved, a signature is added, and then it is bisque fired.
The bisque firing temperature is 900℃, which is higher than other artists (usually 700-800℃). By raising the temperature to 900℃, the knot components in the clay are burned off, so it is predicted that pinholes, a production problem in the "ice crack cracking" that is the characteristic of the work, will be less likely to occur.
Now it's time for the ice cracking process. Please tell us about the glazing process.
After bisque firing, the piece is thoroughly washed with a sponge to remove any dust that has accumulated on the surface in the kiln. It is rinsed thoroughly, like washing dishes, and left to dry completely for a day.
After drying, we apply a water repellent to the areas where we want the glaze to drip, and determine the starting and ending points. The glaze is made using a unique blend of feldspar, limestone, and natural ash.
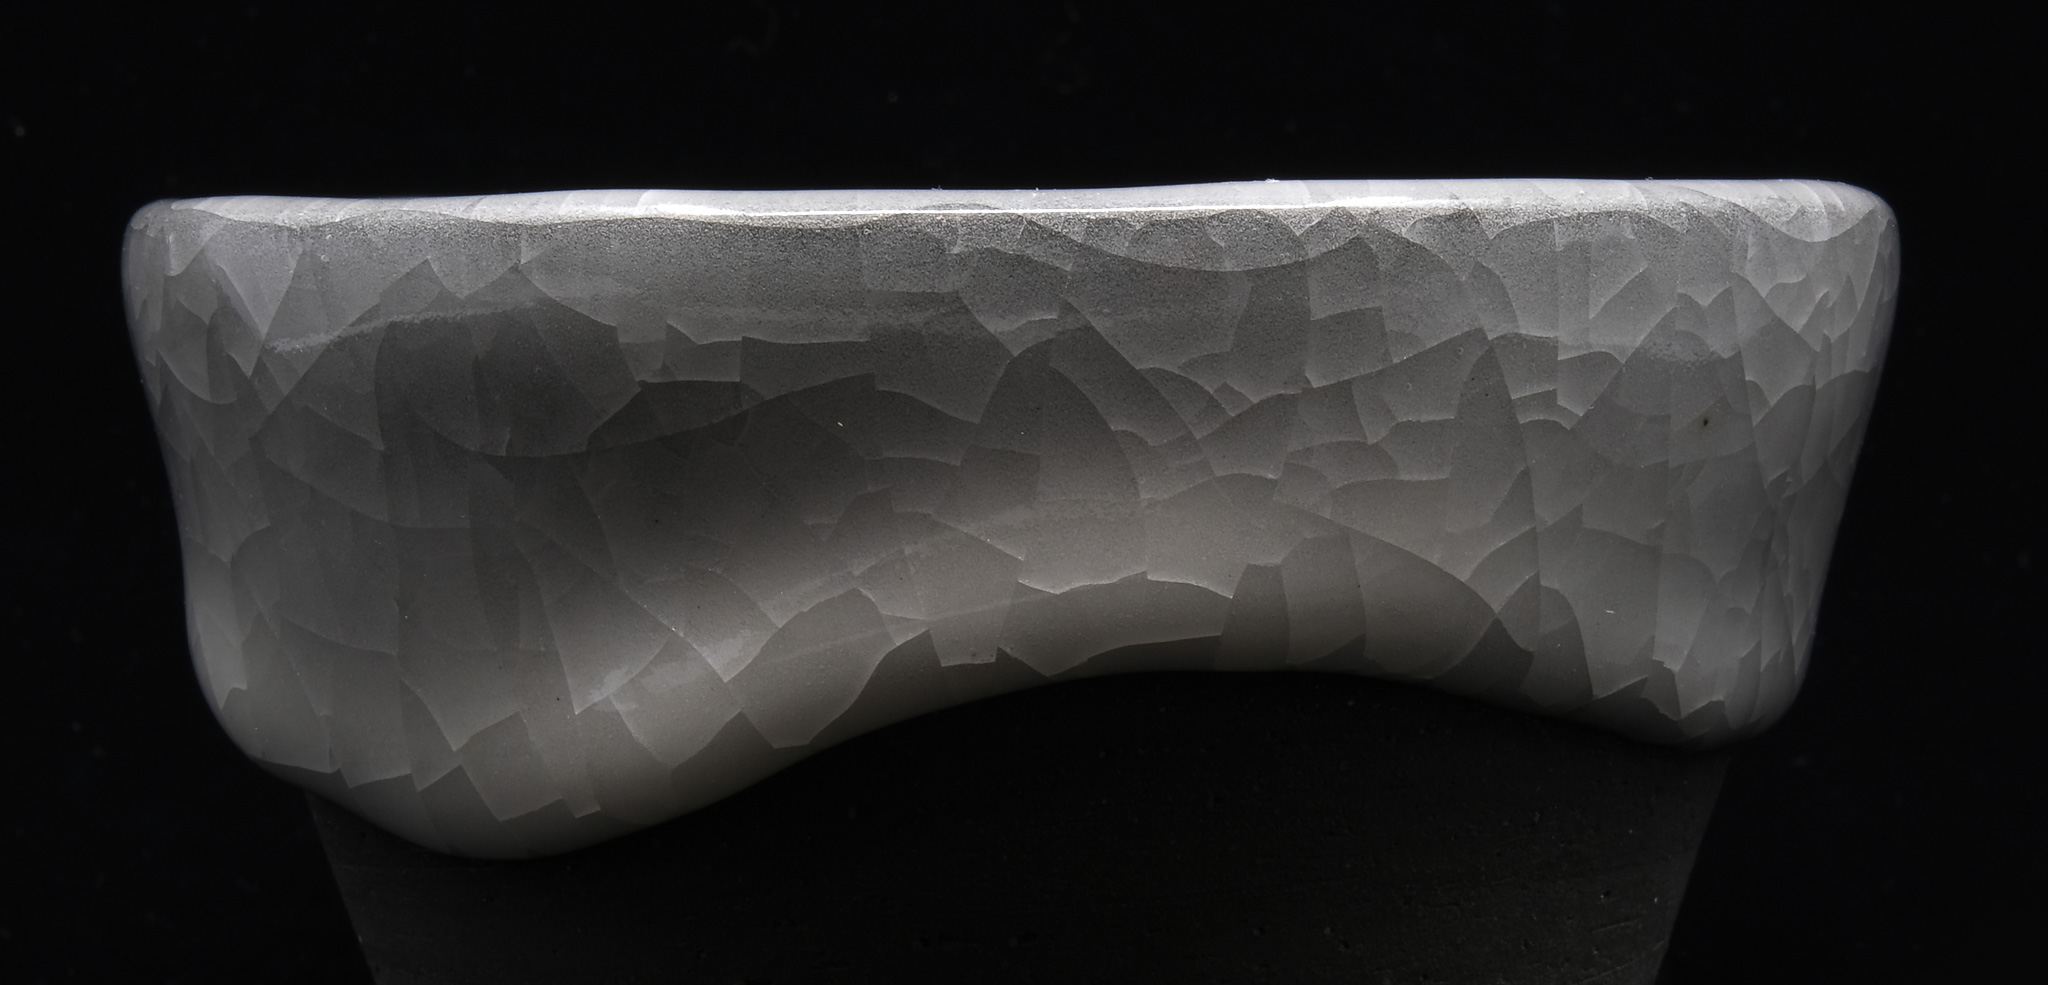
Now it's time to apply the glaze, but rather than just pouring it on, I "apply the glaze by hand." Think of it as "piling it up." When the applied glaze dries, I apply another coat, and when that dries, I apply another coat. By applying this in about five layers, the volume of the glaze on the piece is created. The glaze I have uniquely mixed is not very watery, but is like okonomiyaki batter, so it can be layered. It depends on the time of year, but I usually apply five layers over the course of two days. The thickness of the outside of the piece is made up of five layers of glaze, and the inside is made up of about two layers of glaze. The grey part at the bottom of the piece is in the fired state.
What is ice crack penetration?
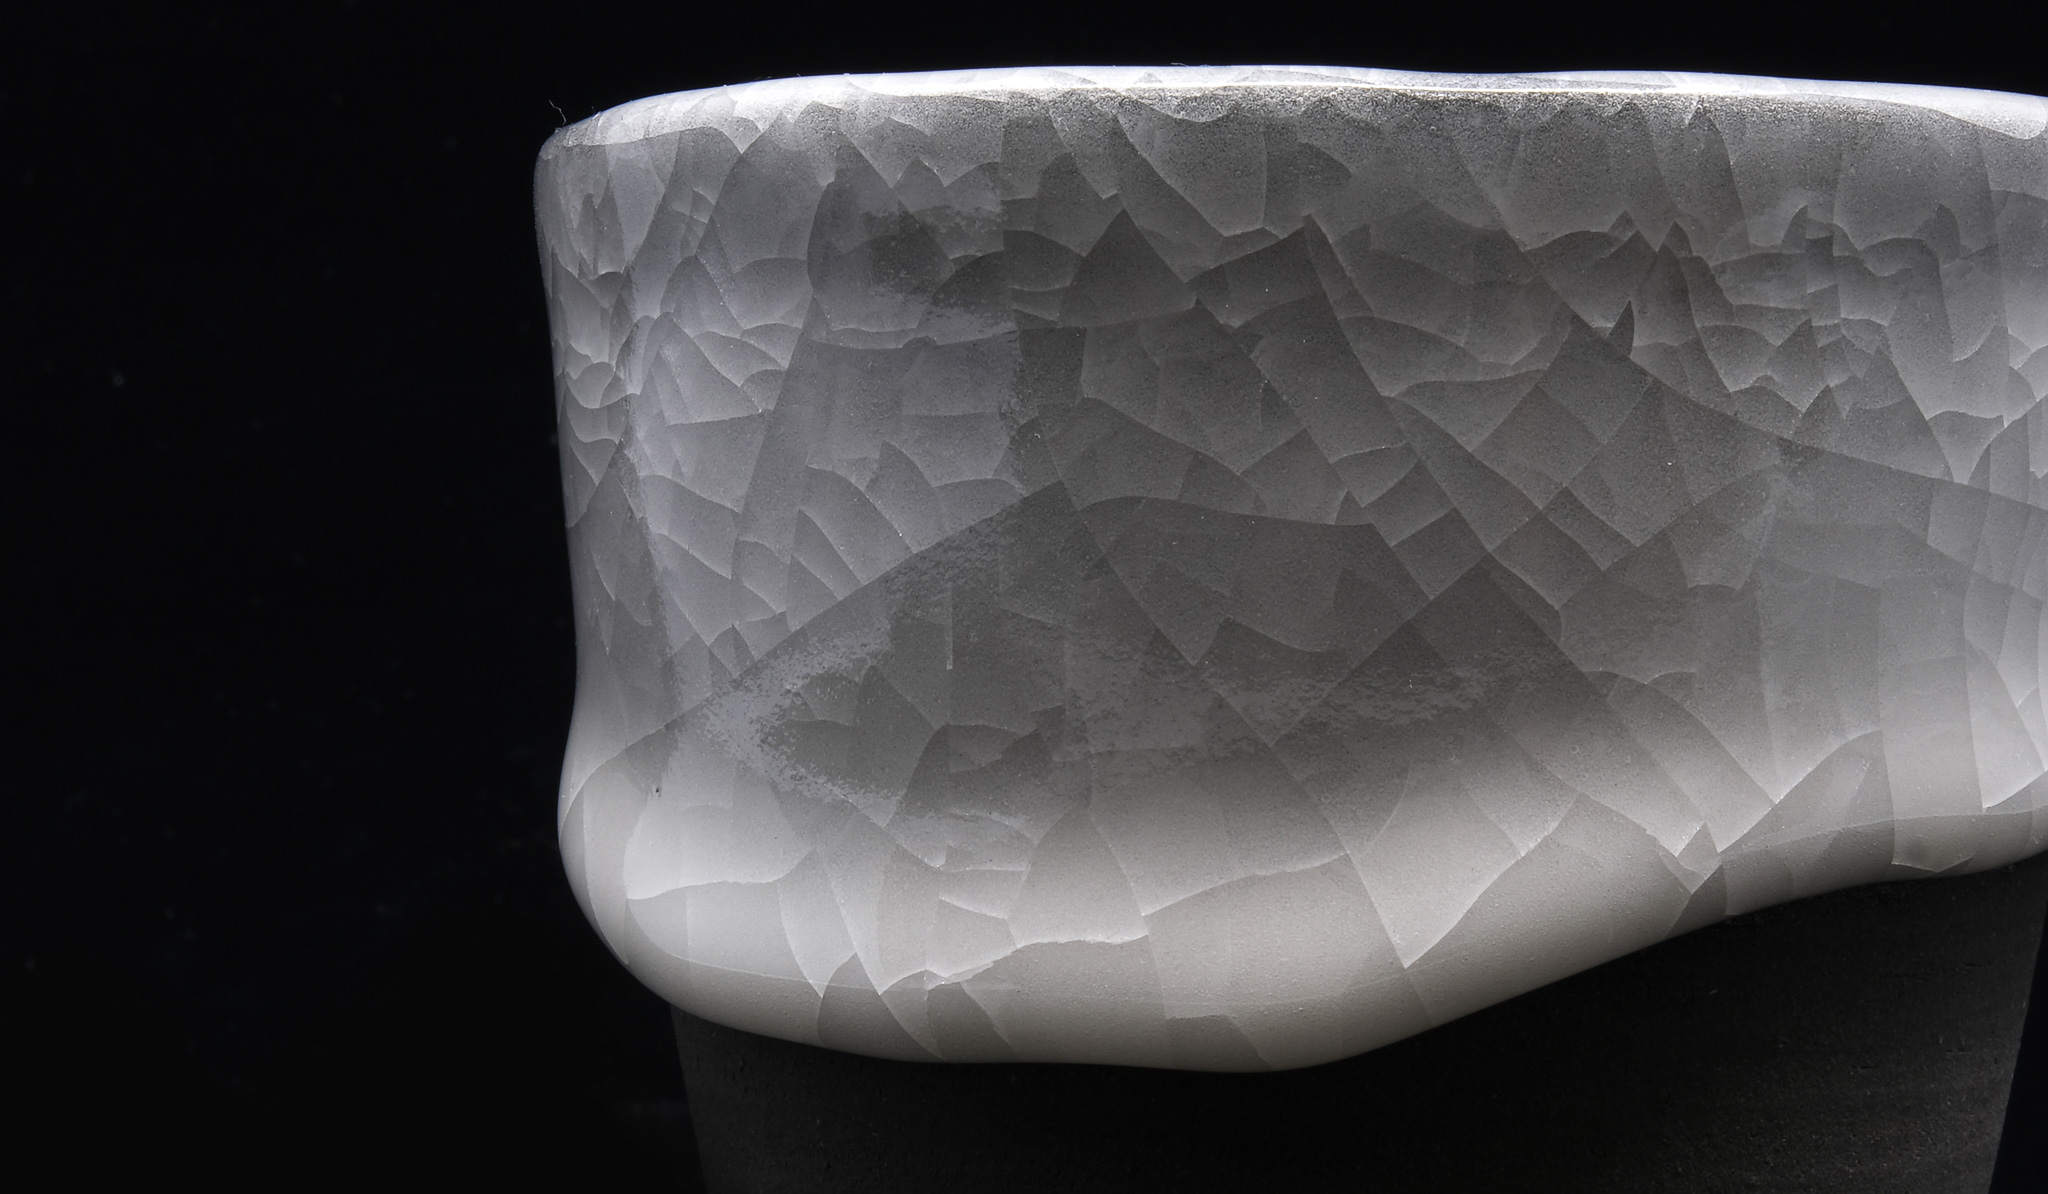
"Kanryu" refers to the cracks on the surface of the glaze applied to the surface of the pottery. I first encountered "Hyorekannyu" at the training school, and the moment I saw it, I felt like I had fallen in love.
Ice crack crackling is a traditional craft in which cracks are layered on top of each other. It is also known as tortoiseshell crackling or rose crackling and was found in celadon pieces made during the Southern Song Dynasty in China, which flourished 800 years ago.
Crazing and ice cracks are caused by the difference in the shrinkage rate of the clay and the glaze, and they gradually appear from around 200℃ as the potter cools after firing. The clanging sound that comes with the cracks is mystical.
The glaze is heavy and thick, so it requires skill, effort, and time to apply. Because of this characteristic, the yield is very low, and each piece is unique.
About Honyaki
Because the piece is sandwiched between a thick layer of glaze, it is dried at 100°C for about five hours to completely dry out any invisible moisture, and then we check to see if any water vapor comes off when we touch it with our skin, and then we are finally ready to fire it.
For the final firing, we use an electric kiln that can also be used for reduction, and the temperature is raised to a slightly lower level, around 1218-20°C. The ice cracks start to appear gradually from around 200°C, so we cool the kiln down to around 70°C and then gradually open the kiln. After the temperature has dropped to around 40°C, the kiln is removed, post-processed, and finally completed.
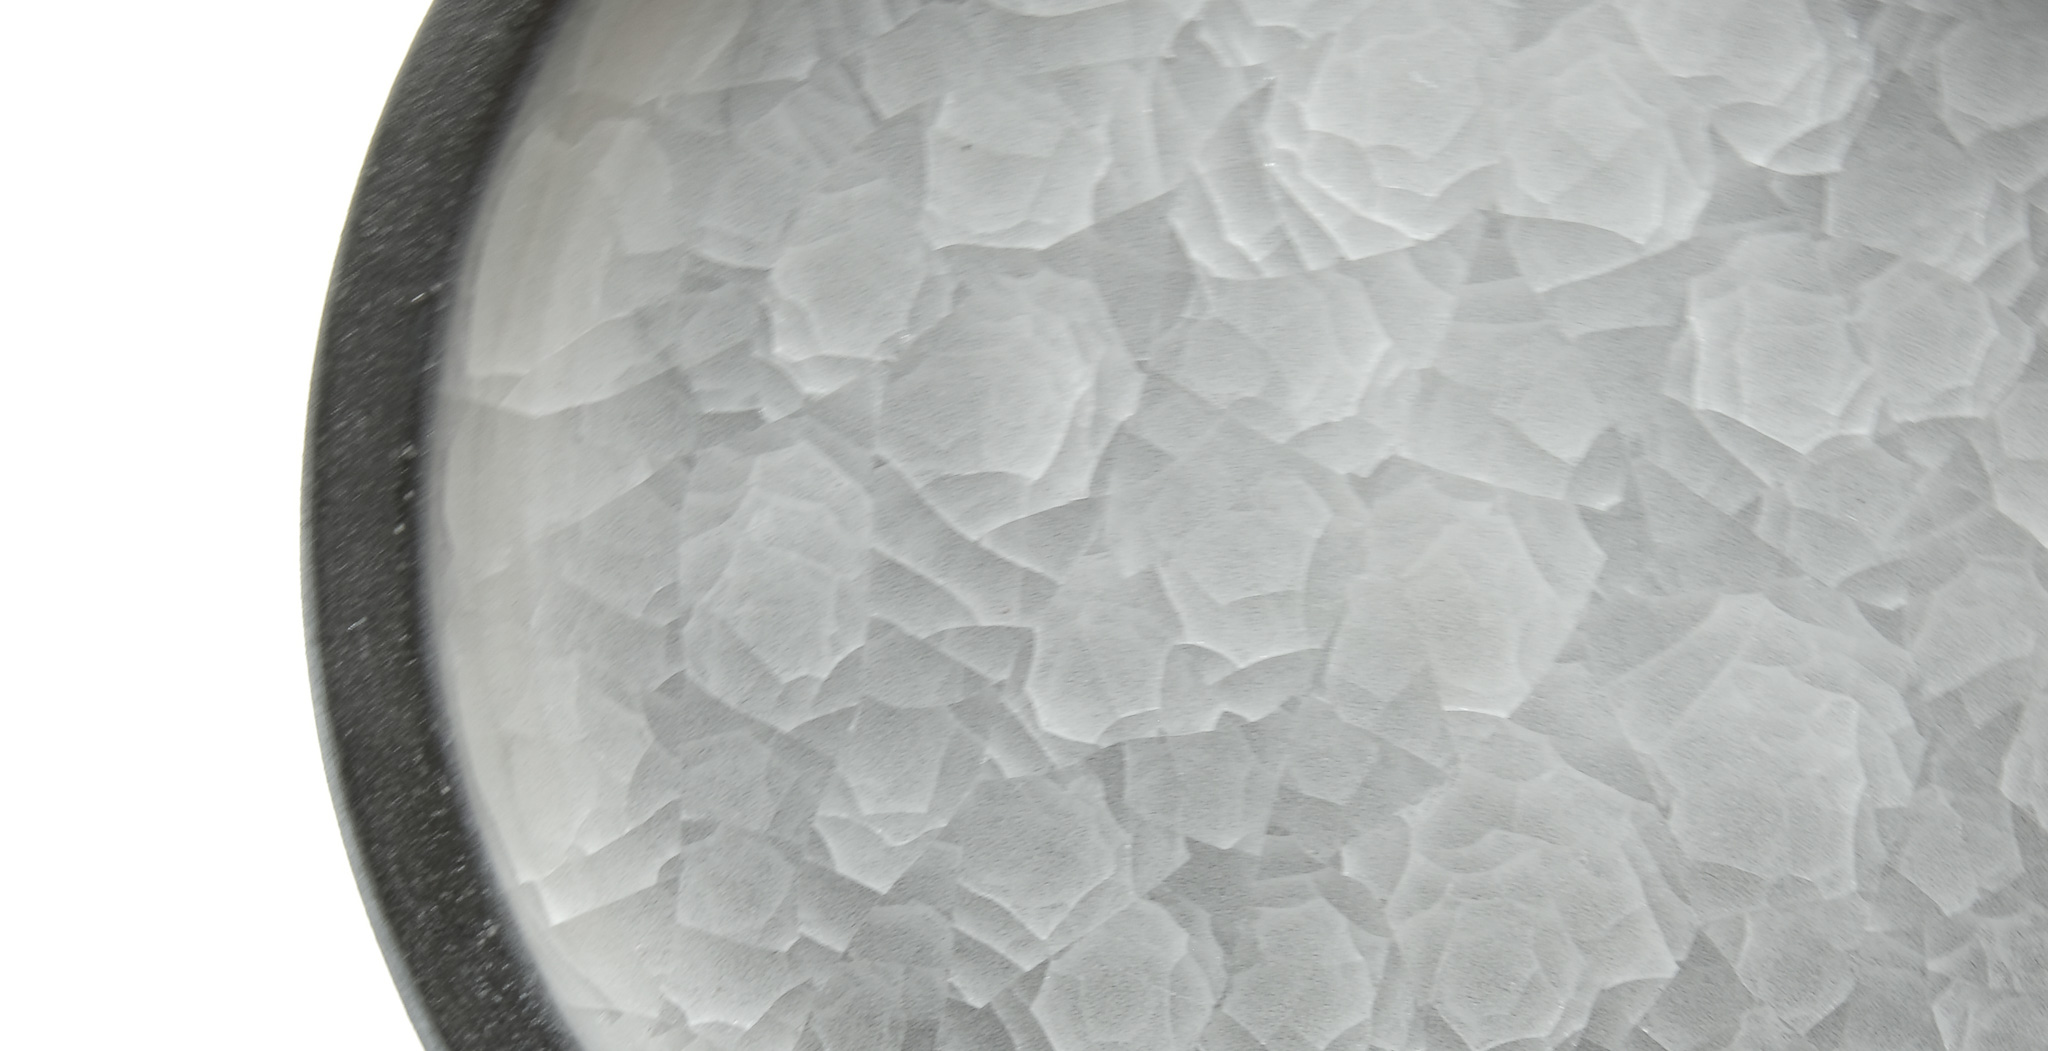
A characteristic of ice cracks is that when they get wet the patterns become faint and appear to disappear.
It is fantastic to see the cracks reappear as the wood dries. I hope you enjoy the process of growing plants, watering them and exposing them to sunlight.
It also comes with a bowl plate that shows off the beauty of the ice cracking and crackling, so I hope you will use them together. I think I was the one who started making flat plates with ice cracking and crackling, but I also make flat plates with no edges so that you can see them more beautifully!
I want as many people as possible to know the beauty of ice cracks. To achieve this, I believe the only way is to keep making them.
OMBLE: Thank you very much for reading to the end.
If you look at the work again after learning about the process of how ice cracks are made, you will be able to see it in a different light. Try planting some plants and watering them. You will be able to experience beautiful moments and feel happy.
I started talking to Mr. Yanagimoto in the afternoon, and before I knew it, it was dark. He was a wonderful person, just like his name and the name of his atelier. Thank you for your detailed and enjoyable talk over a long period of time.
